参考了这个 https://qing.su/article/keyhelp-hosting-panel-ubuntu.html
KeyHelp主机面板只支持Ubuntu和Debian,不支持CentOS/RHEL/Fedora系列操作系统。
安装
一行代码即可
wget https://install.keyhelp.de/get_keyhelp.php -O install_keyhelp.sh ; bash install_keyhelp.sh设定好 域名,用户名,密码,email即可。


差不多10分钟后,成功就会自动重启。
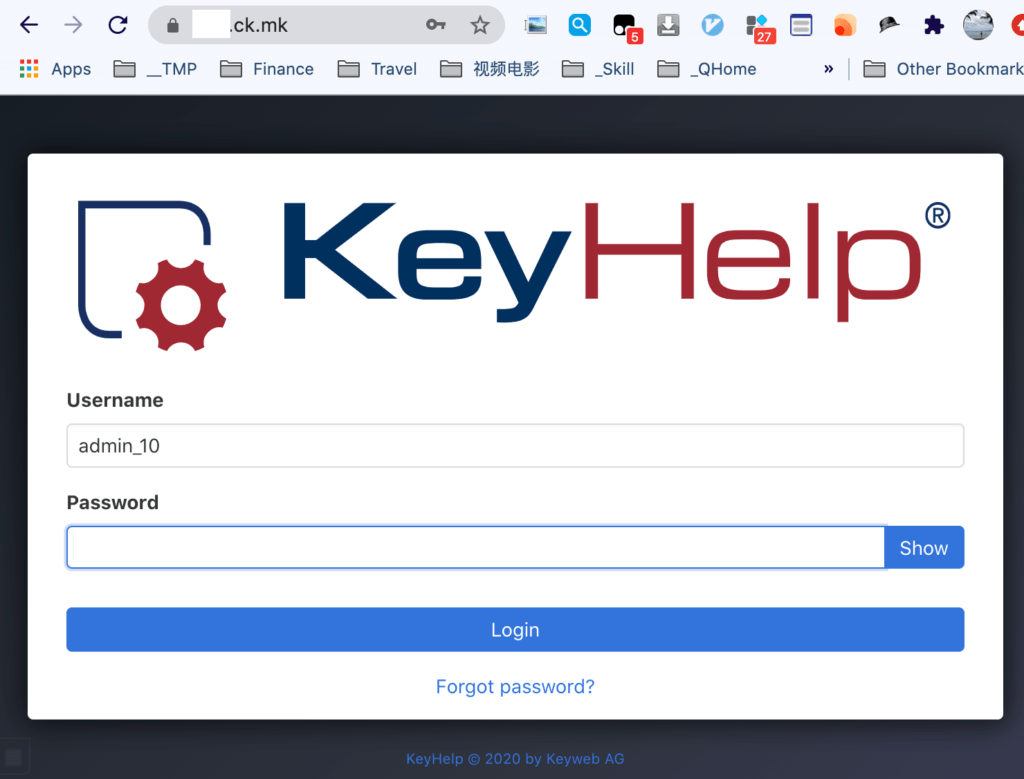
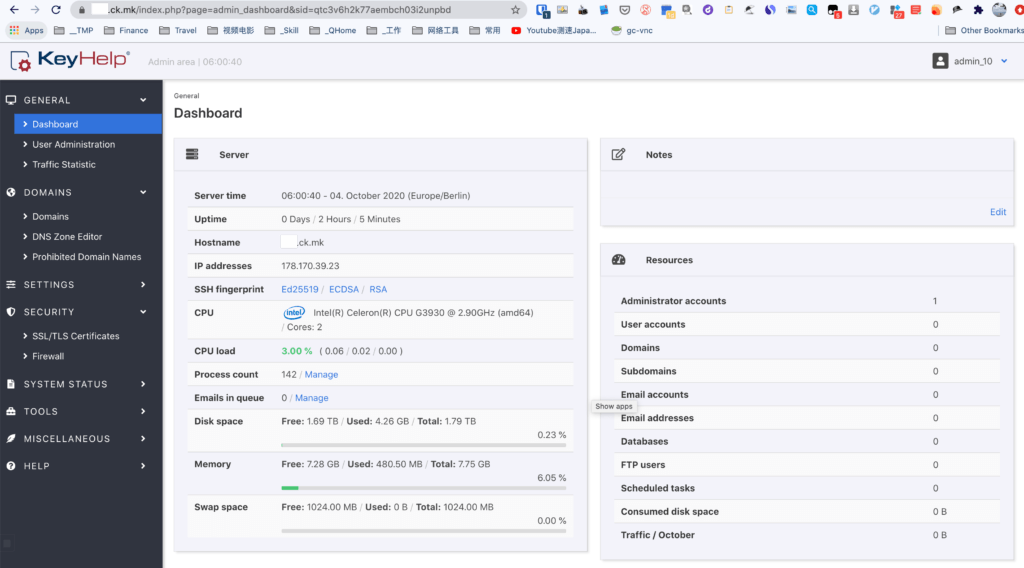
登陆
打开之前设定好的域名 xx.ck.mk
改用Let’s Encrypt来提供证书


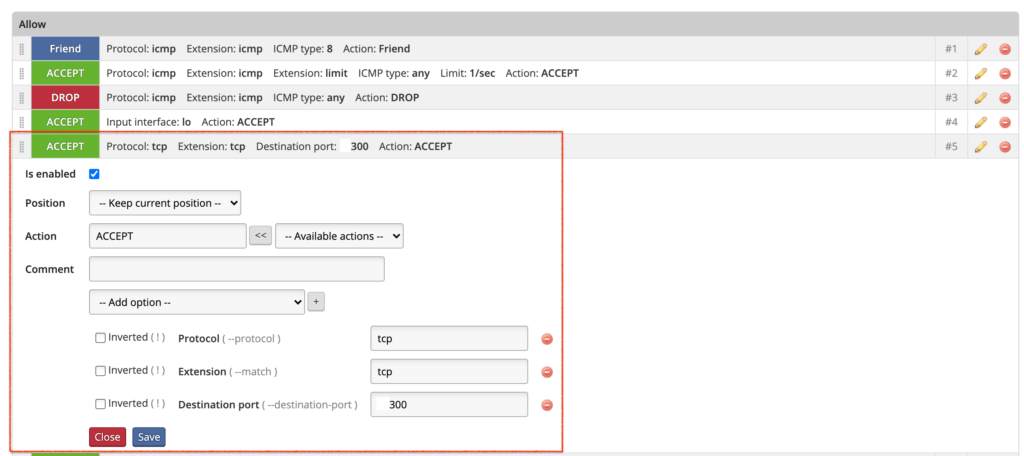
安装过程防火墙自动把我之前的SSH端口给关闭了,重新打开
配置用户模板和分配新用户
这才是这个面板的精髓
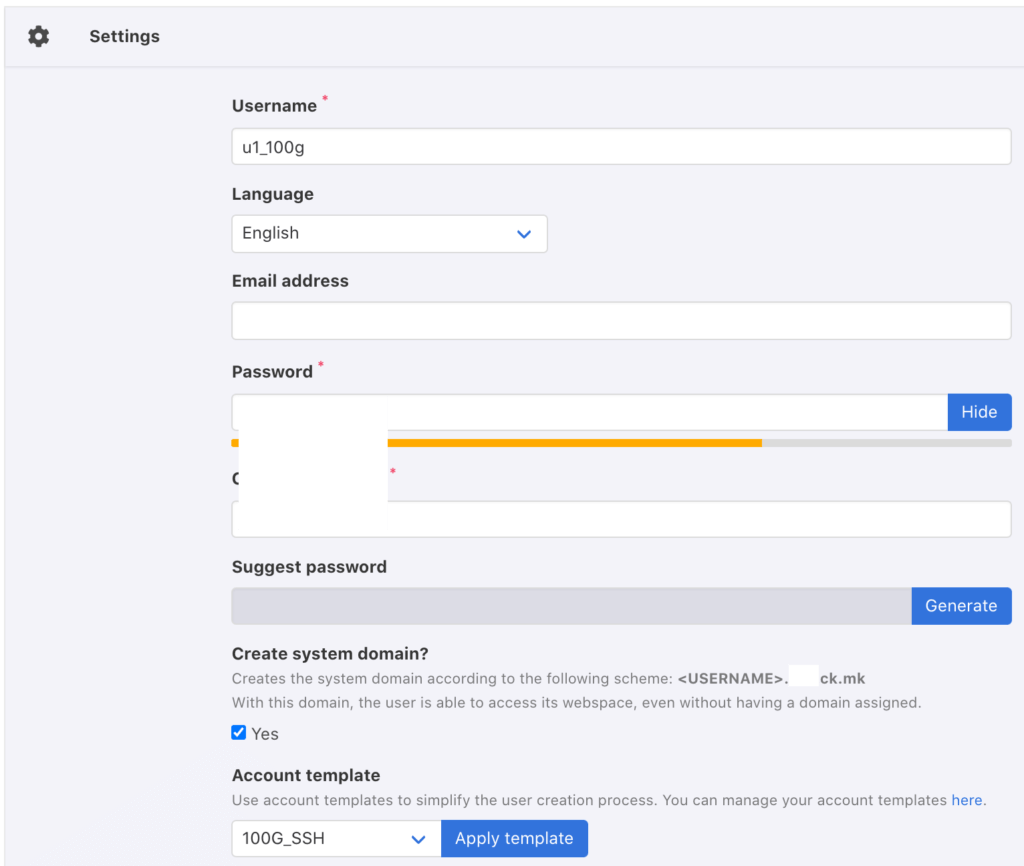
创建一个新模板 – 限制硬盘100G


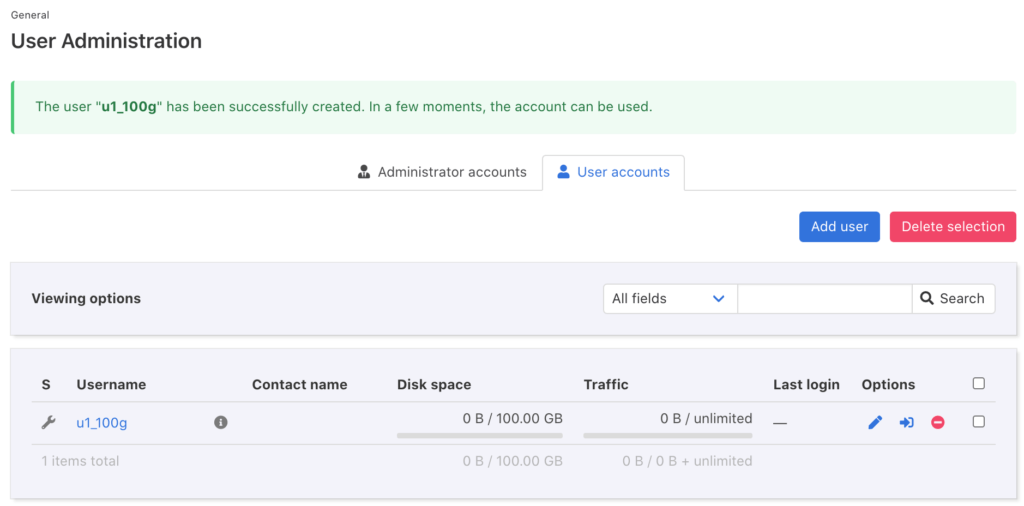
用这个新模板来创建新用户

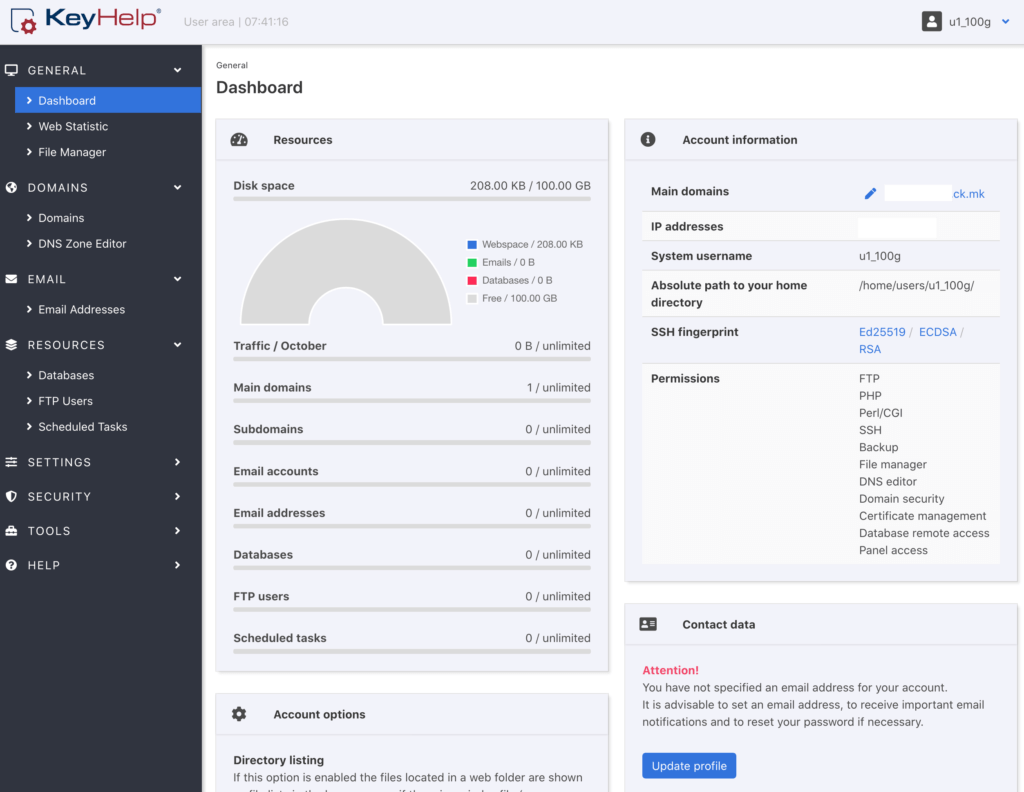
登陆新用户
仍然去 xx.ck.mk