之前写过在VPS上通过Docker方式或非Docker方式安装NextCloud,现在往往在家里的群晖上面安装。
Docker安装MariaDB (mysql等效产品)
https://registry.hub.docker.com/_/mariadb/
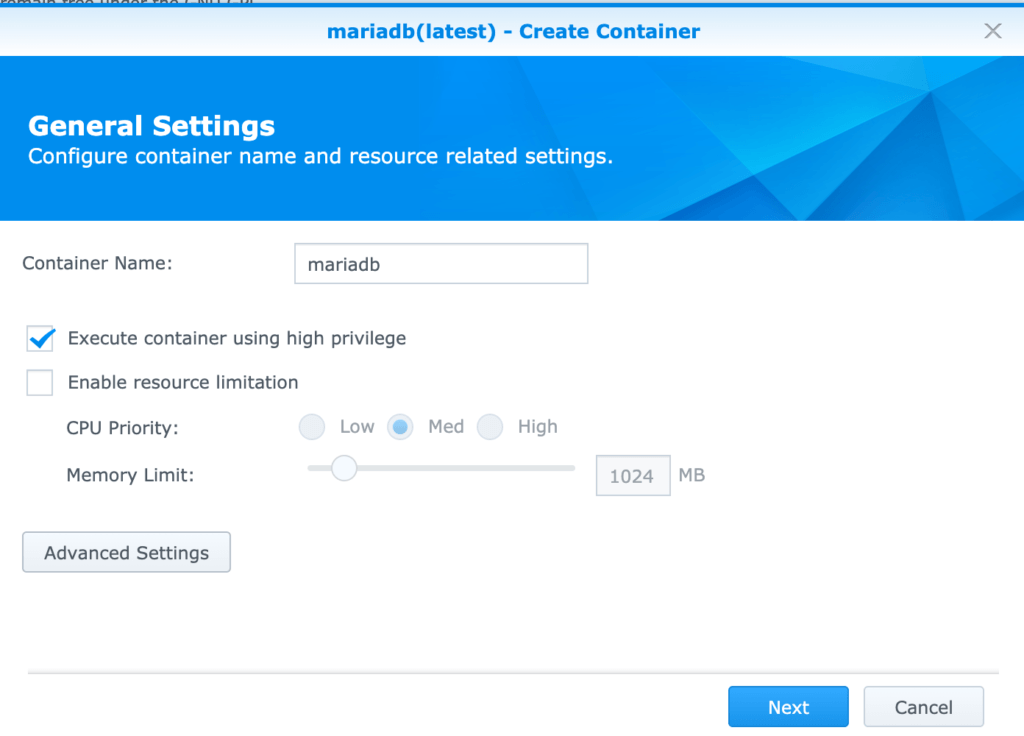
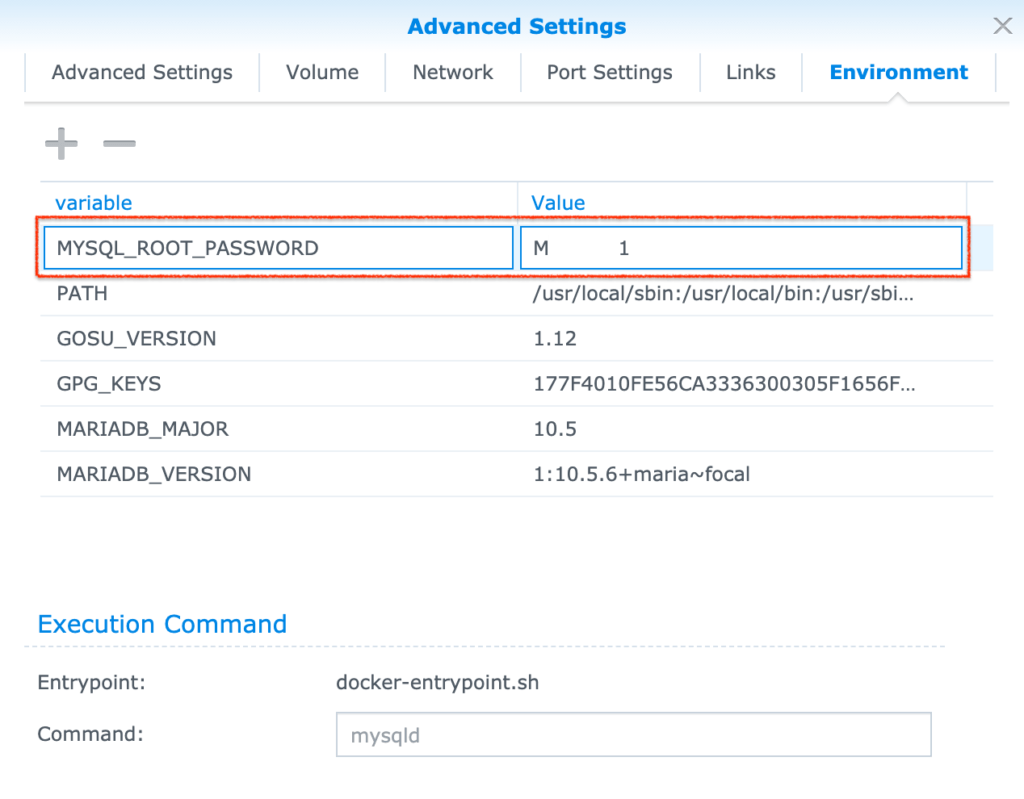
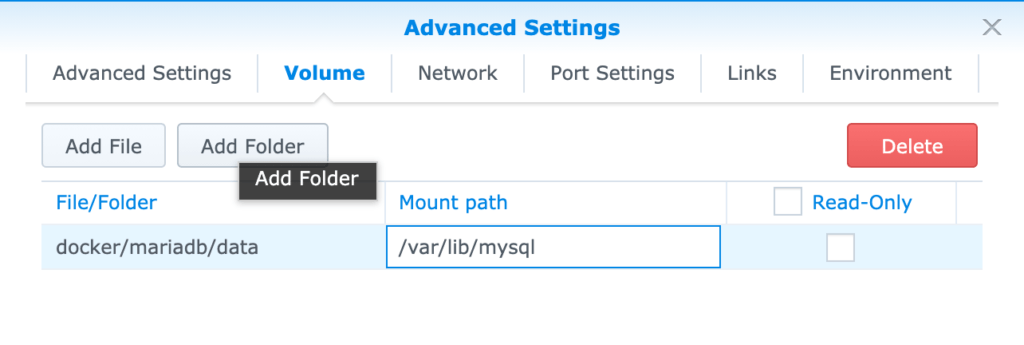
主要就是配置数据目录,端口和密码。这个MariaDB可以被所有其他docker共用。
然后登陆进入docker的terminal – 允许maria接受网络登陆访问 – 不然任何localhost之外的访问都被禁止。
grant all privileges on *.* to 'root'@'%';
FLUSH PRIVILEGES;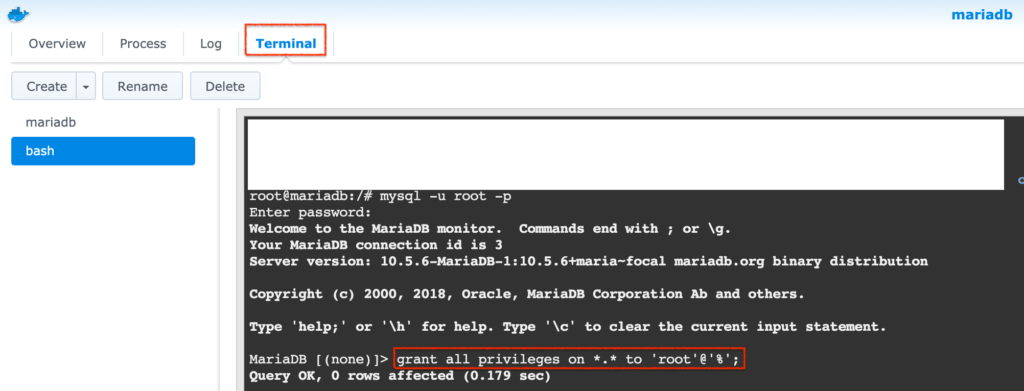
Docker安装NextCloud

选得是可以All in One的 wonderfall/nextcloud 容器镜像。https://registry.hub.docker.com/r/wonderfall/nextcloud
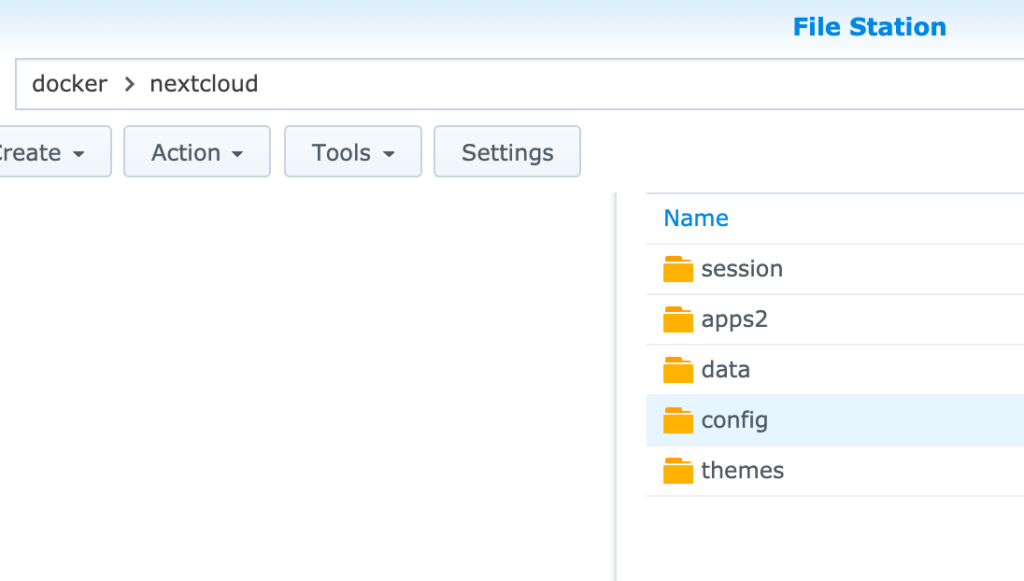
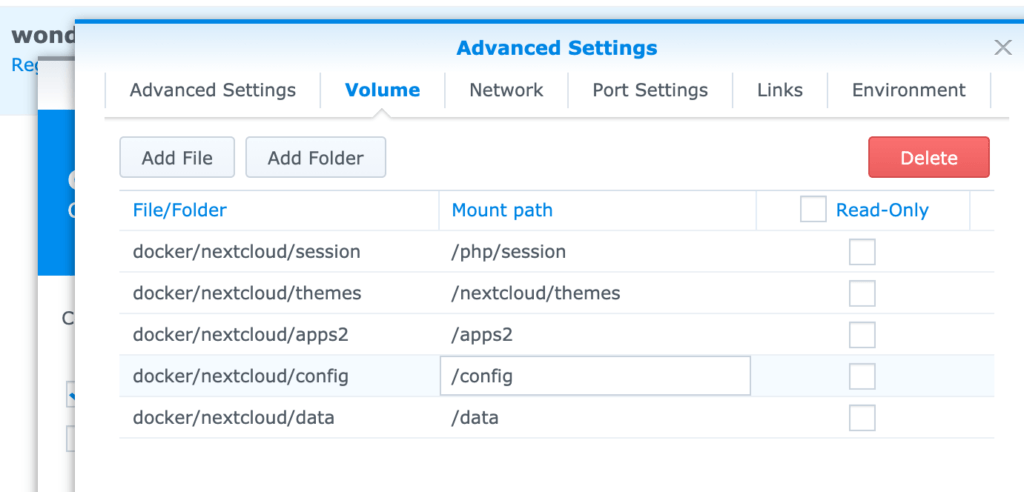
做了这5个目录的对应
- /docker/nextcloud/data => /data
- /docker/nextcloud/config => /config
- /docker/nextcloud/apps2 => /apps2
- /docker/nextcloud/themes => /nextcloud/themes
- /docker/nextcloud/session => /php/session
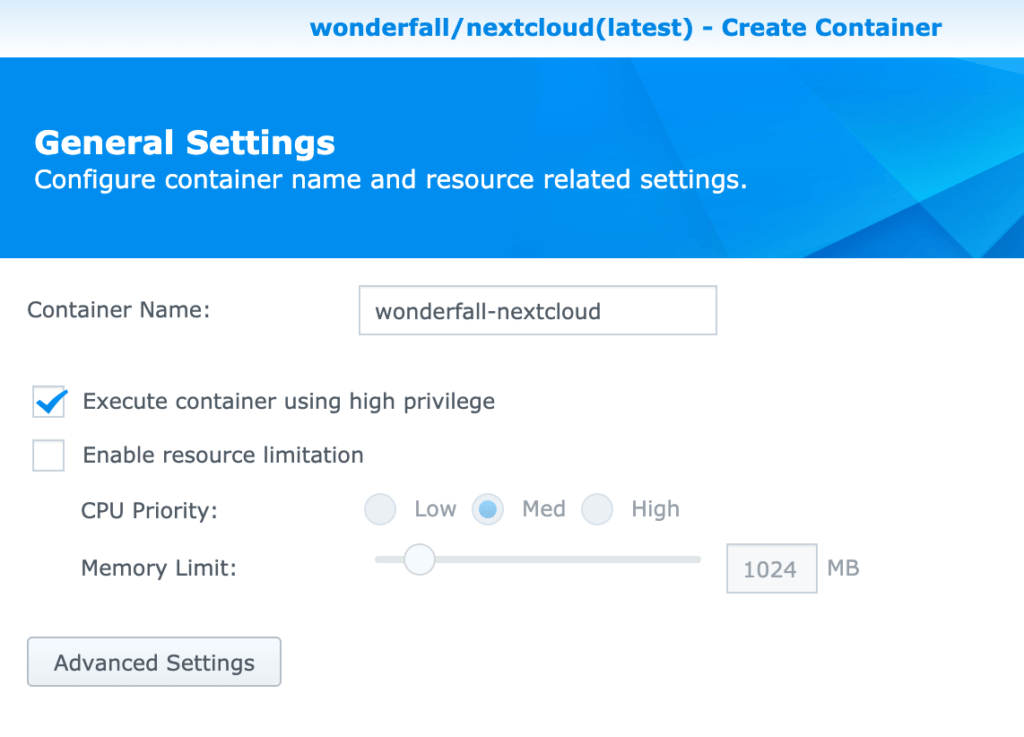
然后就开始启动容器的设置

一定要link下MariaDB对应的容器 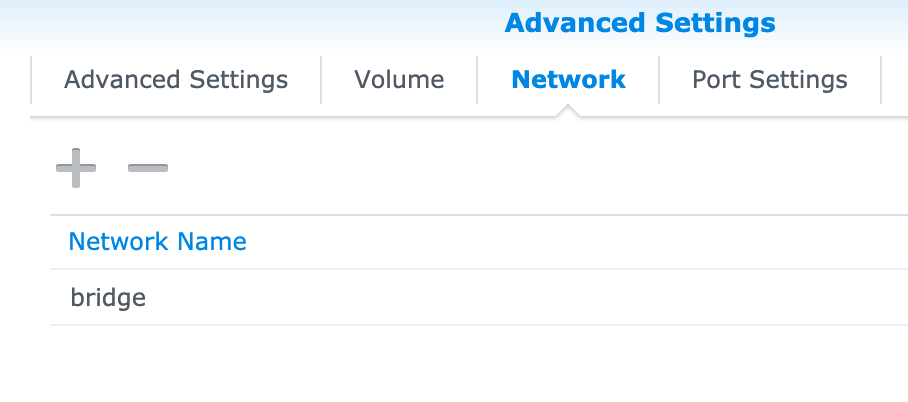

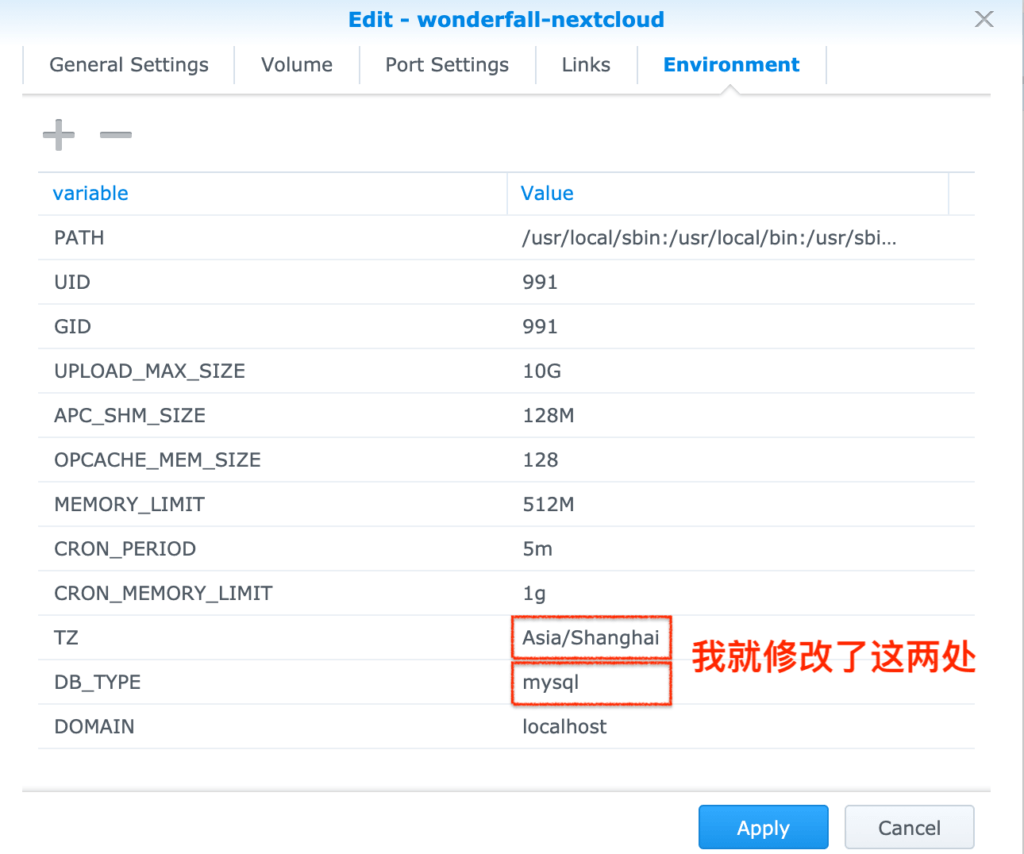
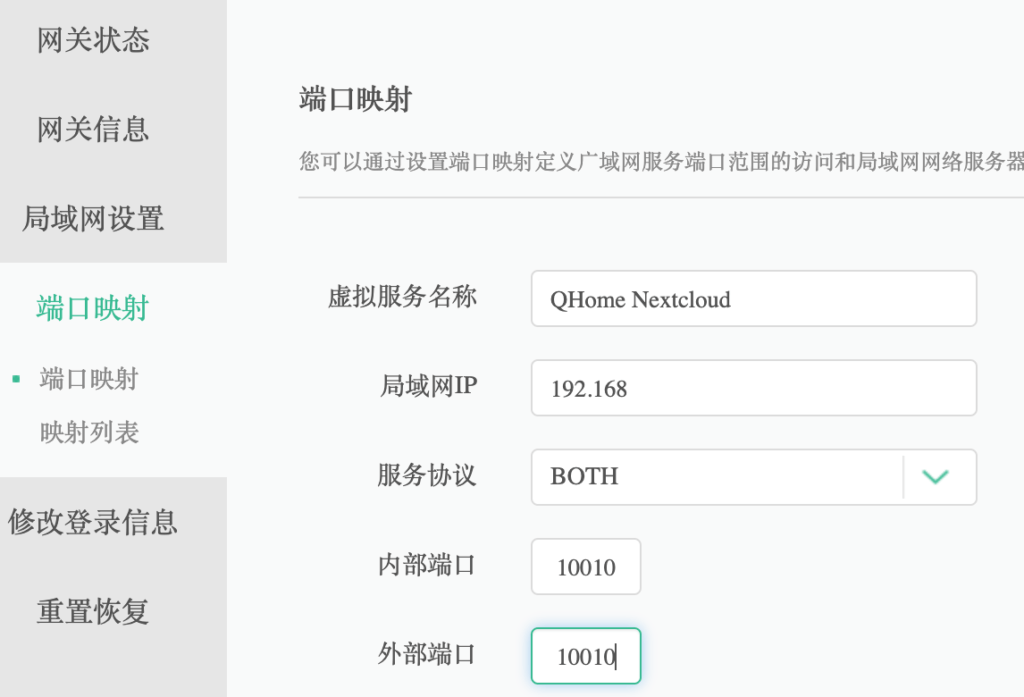
我自定义了10010的端口,这个端口必须要在光猫和内部Router这两级都做端口转发。
配置 – 允许其他域名访问 + 反代
默认就是10.0.xx.xx:10010的路径打开来做初始配置。
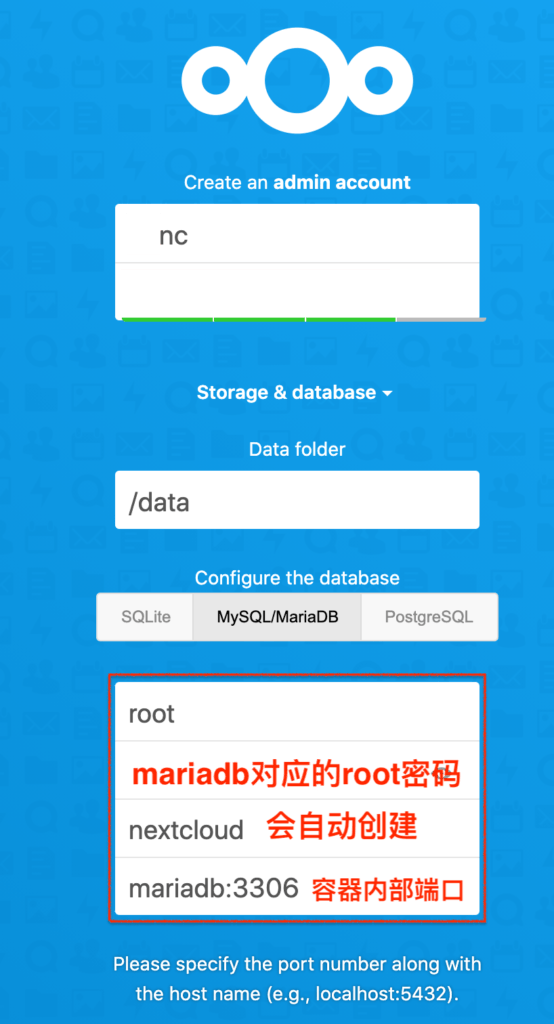
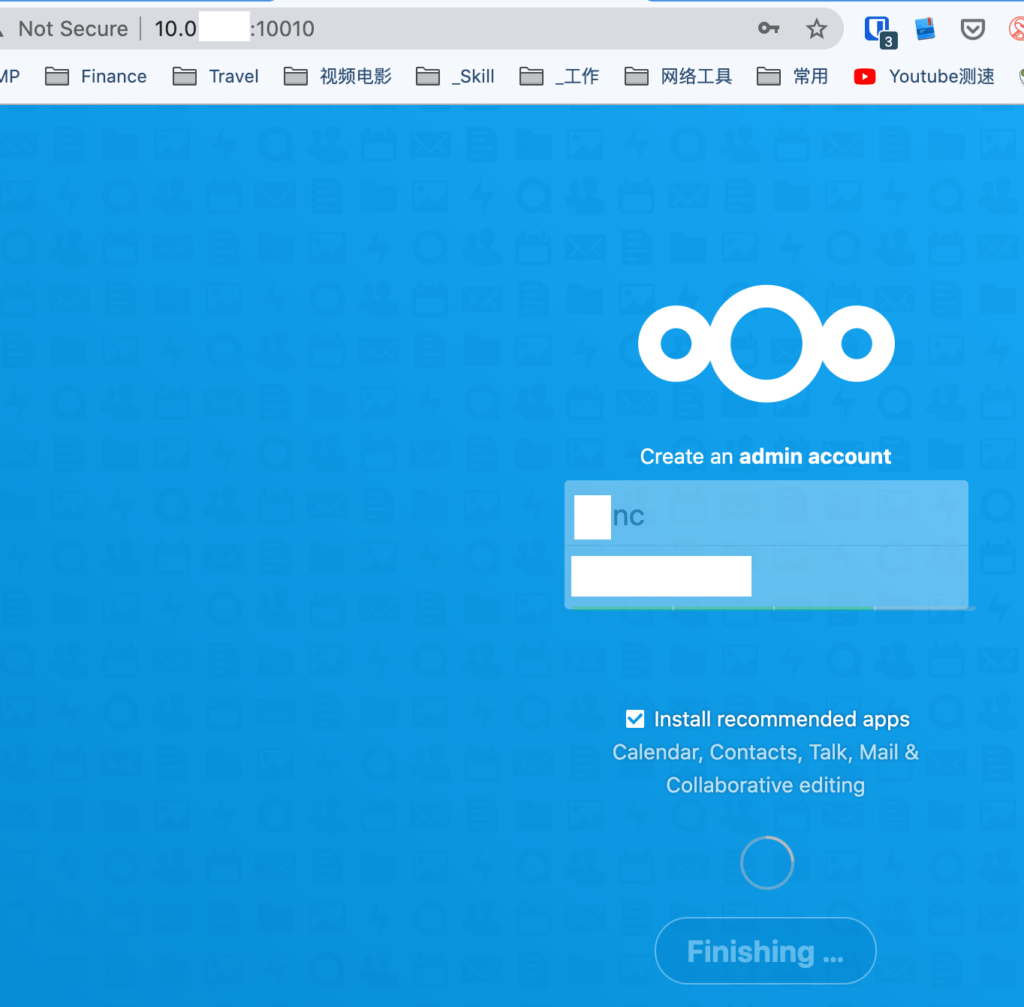
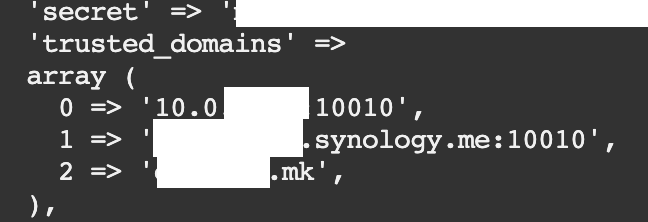
还要增加对于ddns或其他反代域名的访问权限
在 /config/config.php下面的’trusted_domains’项里面加条目。
手动安装NextCloud APP来增加二次验证
先去app所在的页面,如 https://apps.nextcloud.com/apps/twofactor_totp/releases?platform=20#20
寻找对应的app的下载链接。
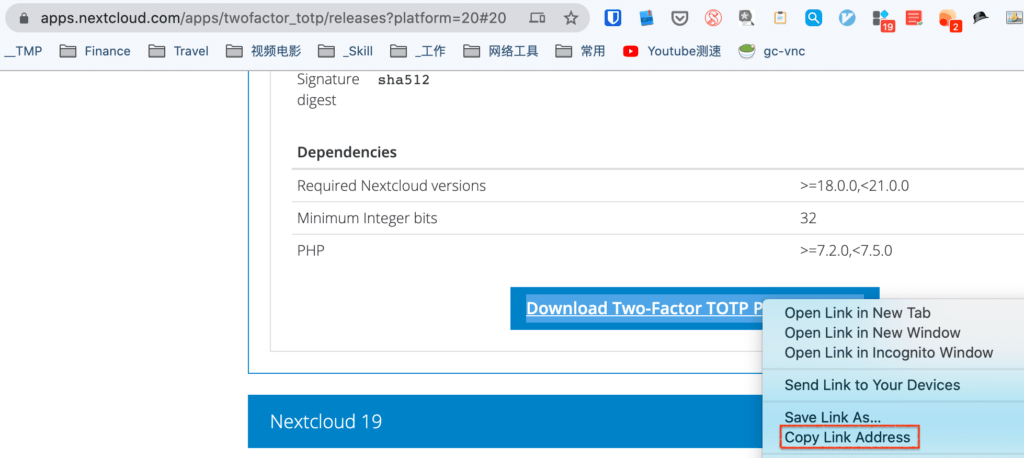
然后登陆docker terminal
cd /apps2 && \
wget https://github.com/nextcloud/twofactor_totp/releases/download/v5.0.0/twofactor_totp.tar.gz && \
tar -zxvf twofactor_totp.tar.gz && \
chown -R 991:991 twofactor_totp # 因为默认uid和gid都是991
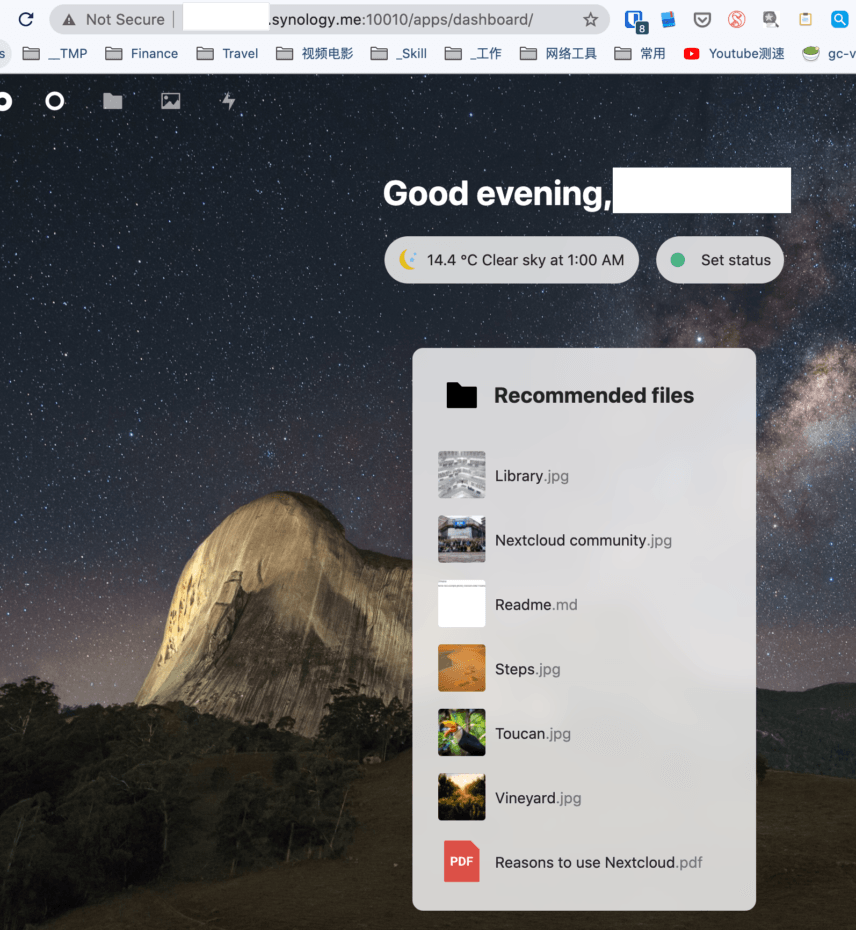
之后就大功告成,可以通过 your_own_qunhui_id.synology.me:10010的方式来访问了。
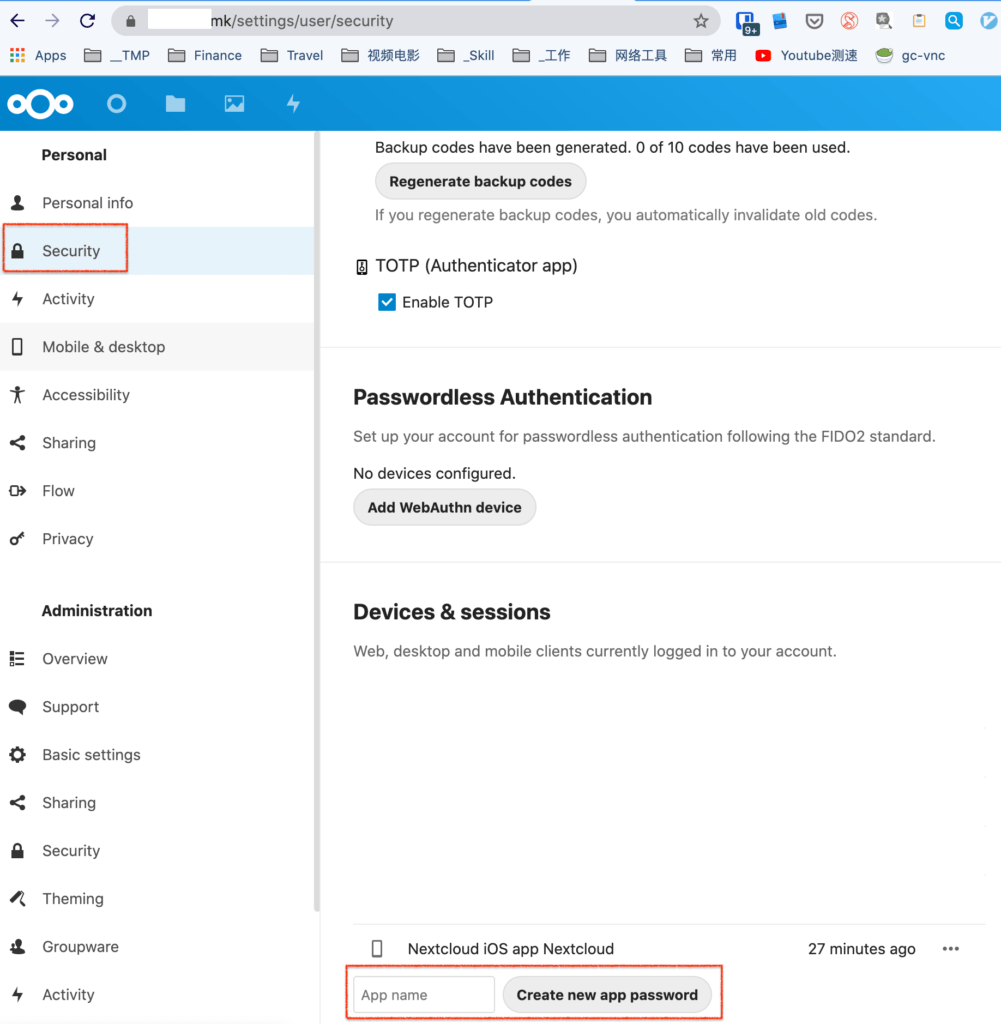
使用WebDAV/CalDAV/CardDAV – 则需要开启device password
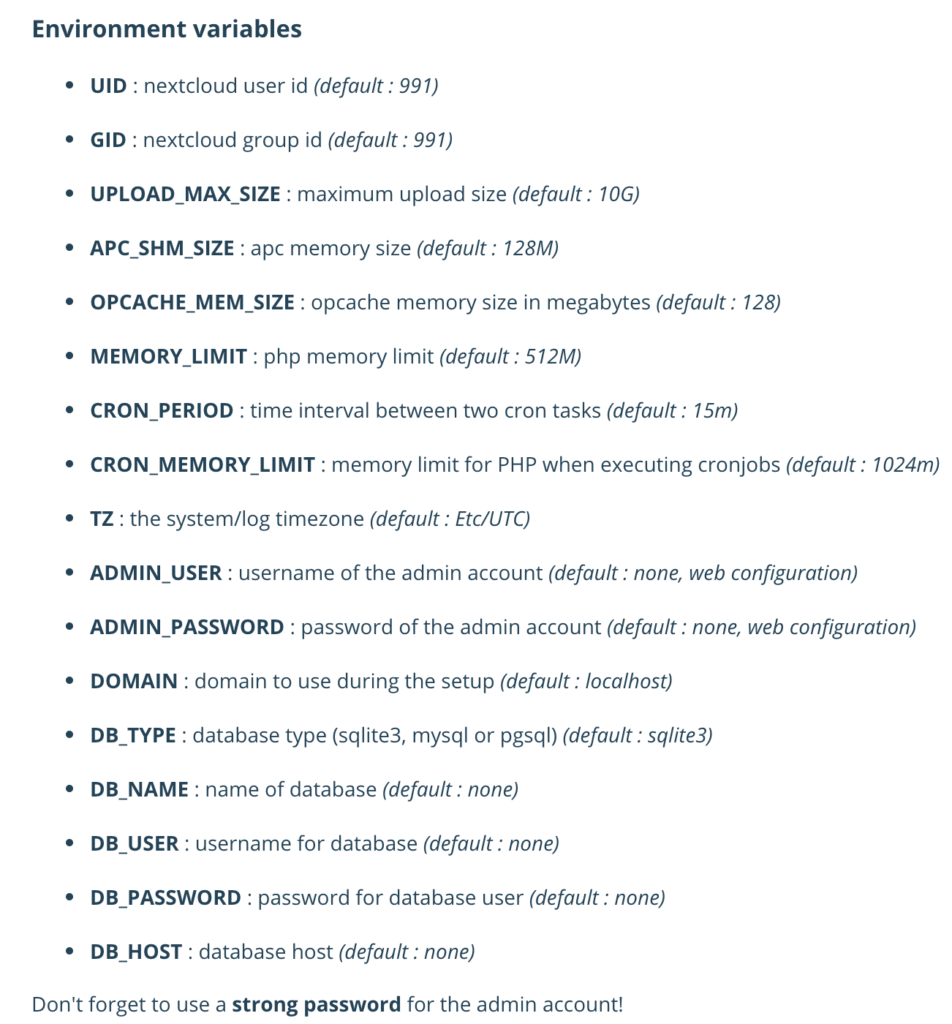
Appendix – nextcloud可以用的一些变量
